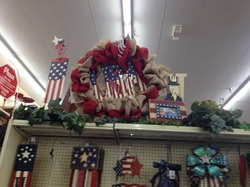
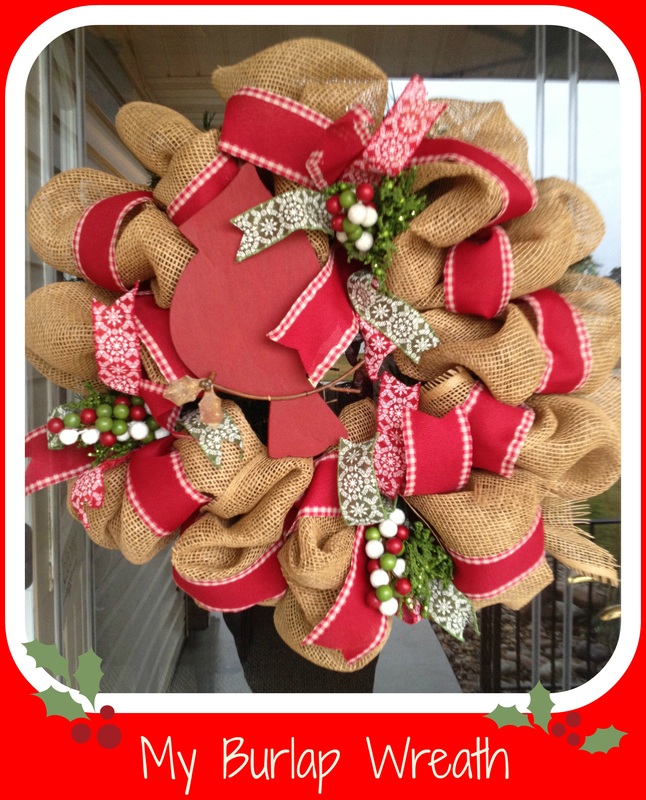
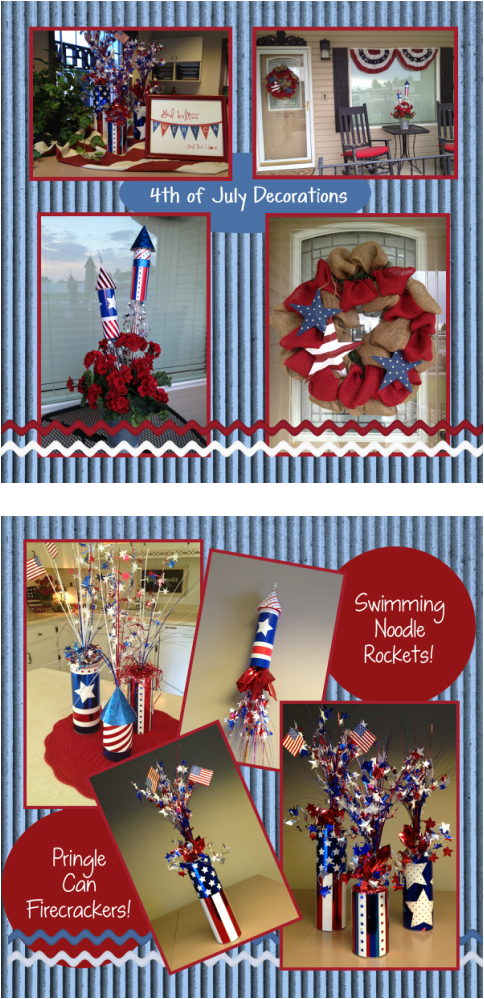
The Firecrackers were another Pinterest inspired craft that my sister and I set out to make.  After shopping for scrap book paper to cover the cans with and not having much luck my sister found gift bags at the Dollar store.  Each bag had a shinny side as in the three cans at the bottom of the page and a regular side as the rocket is.  So one bag would cover two cans....SCORE!!! The sparkles are just what they appear to be sparkles with weights.  On the three can at the bottom of the page I filled each can with rocks or foam depending on if you are setting them outside or inside leaving enough room  at the top for the sparkles to set on top.  Then added the wire stars as embellishments.  For the different height I took the Pringle cans and cut them with the chop saw 2.5" shorter for each one.

For the Rockets we bought a swimming noodle and cut into fourths.  Wrap the noodle with scrap book paper and make a cone for the top, we cut some of the twist tie off from the sparkle to add as the fuse in the cone top.  Wrapped a bamboo stick or dowel with masking tape or duct tape until it fit tightly in the noodle.  Take the sparkle apart and save all of the parts except for the concrete weight.  First wrap the stars with the wire stem to the dowel then wrap the streamers around that, next take the cellophane cover and put on the end of the dowel and shove it into the noodle, it should fit tightly. There you go....your Fourth of July Rocket!

Scrapbook pages created by My Memories Suite 
 
Picture
Inspired by this Hobby Lobby wreath.

Picture
I purchased a Christmas wreath at Deseret Industries for $1.50, added in 2 rolls of burlap which I love since the edges are all finished so it doesn't fray like regular burlap does regular price of $5.99 but of course I used my 40% off coupons on these. I didn't cut any so I could reuse it for another project if I wanted too later. I bought the stars at a yard sale for $1.00.  So the total for this project was under $10.00. 

I think I can easily take off the stars and add other embellishments to change it up.  I actually think I might add an ivy red geranium to match the flowers in my yard after the holiday.  Then I think I will make burlap pillows for my black rocking chairs to match.  I will post pictures of that project later.

 
Picture
I am ready for Spring at my house, thanks to my sister.....and just this morning it snowed again (3-08-2103).  Oh well I remember many Easter mornings with snow on the ground so why am I surprised.  My sister and I were inspired to make a 2' peep from this pinterest pin.   We ordered the foam from the local foam company 3"x12"x24" and bought spray paint made especially for painting foam at Michaels.  My sister drew the peep pattern free hand and then proceeded to cut them out with an electric knife....what a mess as you can imagine.  After painting several coats of pink paint she mixed glue and water together to make a light sticky surface for the sparkly glitter to stick, then we painted the eyes with acrylic paint. 

Happy Easter!

 
Picture
In honor or Presidents Day I put together a arrangement for my office counter.  I found the Avon President bottles, flag and books at the local thrift store.  The President's Day subway art I got on Pinterest.  I think this would be a great 4th of July arrangement also.  

 
Inspired by Pinterest and this sweater purse pin.


Inspired by my sisters cute Grinch wreath I was inspired to make a wreath for my house with burlap.  Seriously this is soooo easy to make.  All you need is an old or new Christmas evergreen wreath, 1 roll of the large 18" netting then 2 or 3 smaller rolls of decorative ribbon along with pics or accessories you might want to accessorize with.  Scrunch it together and tie it down with a limb from the wreath...grab about 8-10" away from the last section tied down and scrunch it together and tie it down, now continue all around the wreath.  Next add your decorative ribbon and accessories by tying them down with the wreath limbs.   

 
My house has been designated as the house for all the family parties....which I truly love.  It's a good thing for one major reason...it makes me clean my house, because to be honest I could easily just be really lazy and let it go.  Back to the table, I bought a tall table about 3 years ago and have missed a regular table height since I traded.  I found this table on Criagslist for $200.00 about 2.5 hours away from our house.  Decided to take it even though I had not seen it in person....which was a little scary.  The owner claimed the chairs were in good condition....they needed some work, I would not call them good but we took them anyway!!!!  So after a lot of  repairing, sanding, staining and painting the table is done.  I LOVE IT...and can't wait to have our first Thanksgiving dinner on it!!!!
 
This handbag pattern is so easy to make....it takes about 3 hours from start to finish to make them.  On my handbag the black and yellow one, I added a loop for my keys and later a black and yellow flower.  They have 3 pockets on the inside which could easily be changed to 4 if you would like.  I am going to add on outside pocket to my next one.  They are the perfect size and so light.....I LOVE IT!!!! This is the website I got my inspiration and instructions from.  http://www.warehousefabricsinc.com/blog/pleated-lined-handbag/