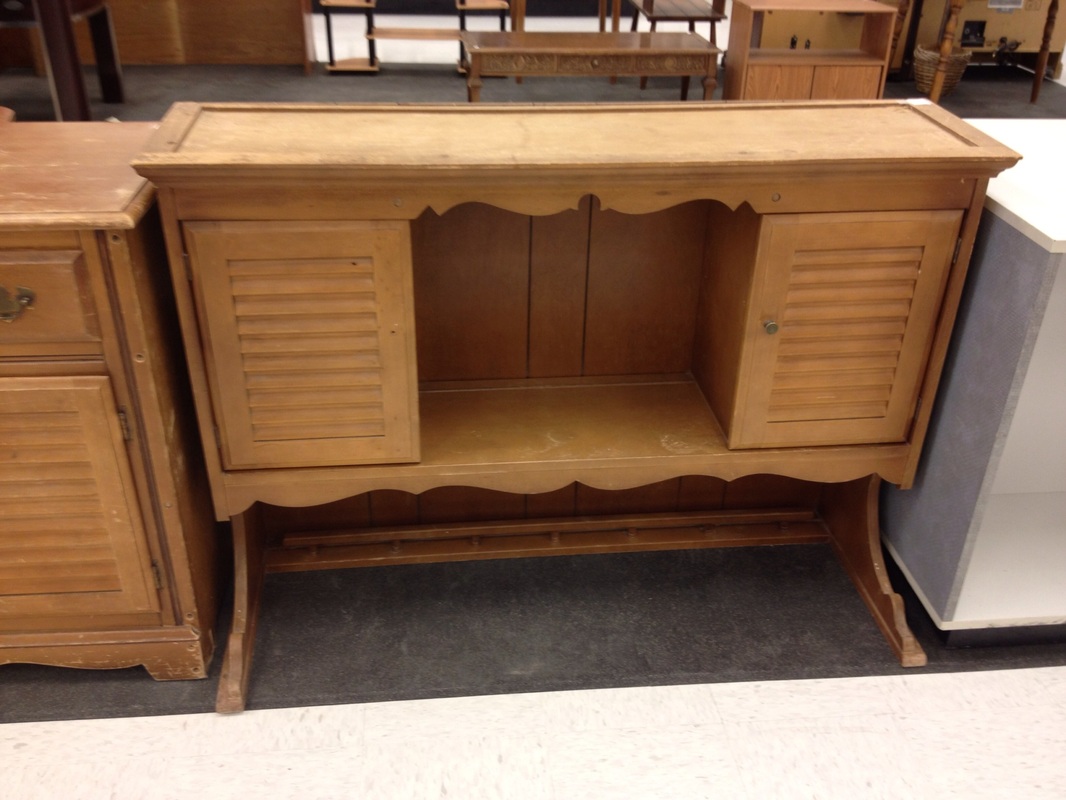
I found a great deal at Deseret Industries on an old China Hutch for $40.00.
I am going to re purpose it in to additional storage and a new work station in my office for doing my vinyl lettering.
After many hours of thought, I decided to remove the wood paneling from the back and the plate rack
so it wouldn't look so much like a kitchen hutch.
Not wanting too spend to much on the whole project I purchased a door from the local Habitat for Humanity for $10.00 along with some trim for the edges. The hole where the door knob would usually go is perfect for bringing up cords.
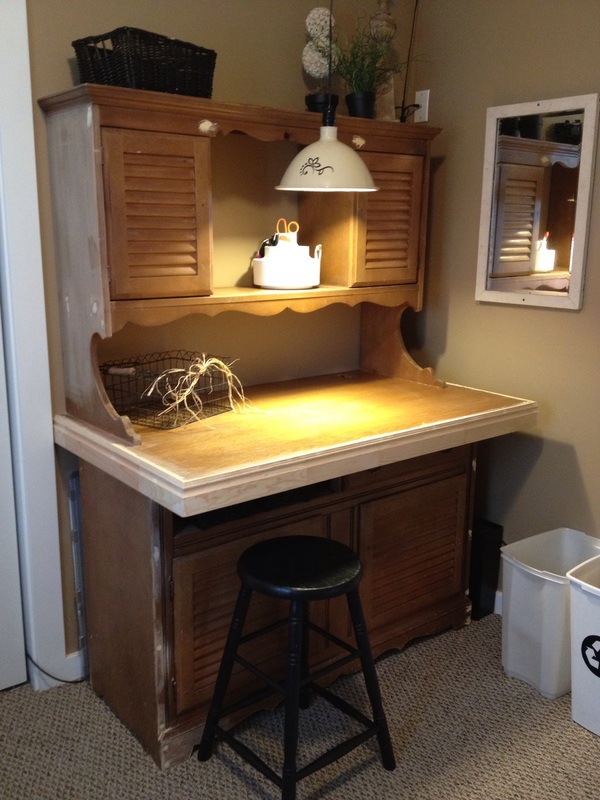
I've filled in the holes with wood putty and I am ready to sand and paint.
I sure hope this weekend will be sunny and warm.
I am going to paint the top and bottom black and then stain the door and trim
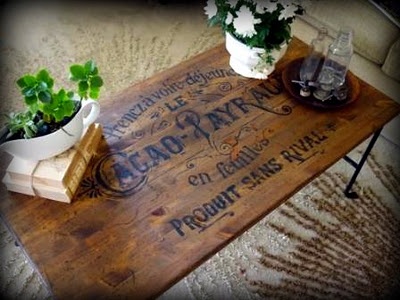
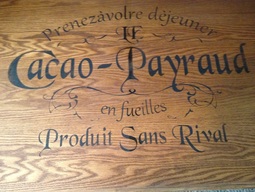
so I can later add some graphics to the top like the table below.
After 5 cans of Semi Flat Black spray paint, a toe injury and 4 hours of on again off again light wind I have a painted desk ready for the graphics to be applied.
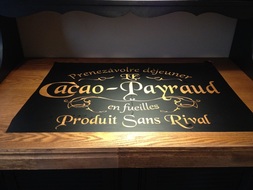
This is my version of the table lettering on the picture above. I did a reverse weeding on the vinyl and applied it to the surface. Then I used black acrylic paint on open areas to get the finished product.
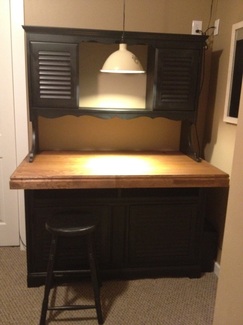
My TV Stand turned Island Project - January 2012
While preparing our last Thanksgiving dinner my husband and I thought it would be really nice to have some extra work space in the kitchen. So I hauled in an old outside sewing machine table I turned in to an outdoor side table for the BBQ. We really liked it and decided that it would be nice to have an island. Well I am a true believer that what you imagine or put out to the universe you will receive. Low and behold about a month later I found my FREE, yes that's right FREE TV stand. I work as the General Manager for a storage facility and the customer told us they emptied the unit completely. Well they didn't but what they left behind was priceless....the starting of my island. Who would of thought that it would be the perfect match to my existing cabinets, how unbelievable!!! So we moved out the sewing machine turned BBQ side table back to the patio and moved in the TV stand. Now the hard part began.....I needed to figure out how to convert it to an island. It sat in my kitchen for probably a month.....it was constantly on my mind, how was I going to raise it 6", cover up the cardboard on the back, and make it all tie together. Then one day I stopped at the local building supply store and I was inspired, black bead board on the sides. I have always wanted to have bead board in my house some where...now I had my chance and I LOVE IT! Next project some baskets, boxes or drawers for where the DVD or VCR player normally would sit....another project began.
The finishing touches to the Island - February 2012
After shopping for weeks for baskets with no success...I turned to a old crate that I found in my Mom and Dad's garage. So I decided to make boxes, painted them black, roughed up the edges with stain to match the cabinet. Then I cut out the lettering on my vinyl cutter and did reverse weeding...leaving just the background. Applied the vinyl to the boxes and with acrylic paint and a dry brush I dabbed on the paint just lightly so it would look aged. Then I applied sticky backed felt to the bottom of the boxes so they would slide in and out easily. Now what to fill them with.....hmm!